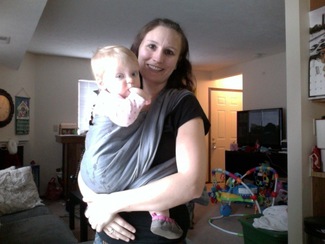
Our second carry of the week is Kangaroo Carry. This is a front carry that you can do with a shorty wrap (size 2 or 3) or with a longer wrap, depending on how you tie it off. Kangaroo carry is great for babies that fall asleep when worn, because it is very easy to unwrap the baby and lay them down to sleep from this carry.
If you have "mastered" the FWCC, Kangaroo Carry is a great next step. Still a front carry, it's not so intimidating as a back carry, but is very similar to a ruck back carry. Once you perfect the technique of the Kangaroo Carry, moving on to a ruck should be much less intimidating, as it's essentially the same carry with baby on your back rather than on your front.
Below you will find our video tutorials, a written tutorial, a photo tutorial, and variations of the Kangaroo Carry. We will be adding to this page throughout the duration of this COTW, so check back often for more tips and tricks!
Wee Carry Video Tutorials
| | |
Wee Carry Written Tutorial
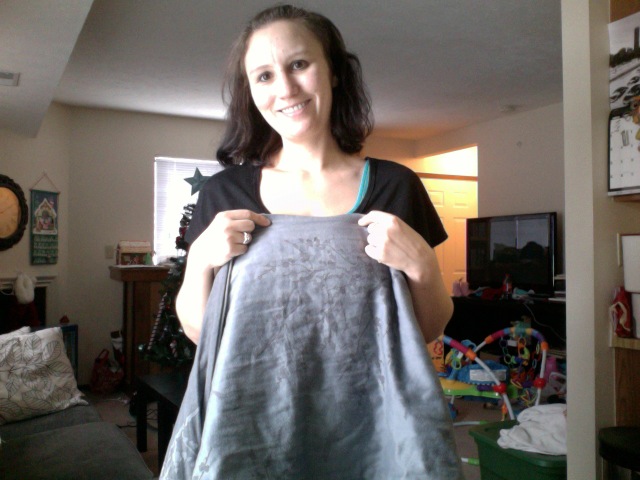
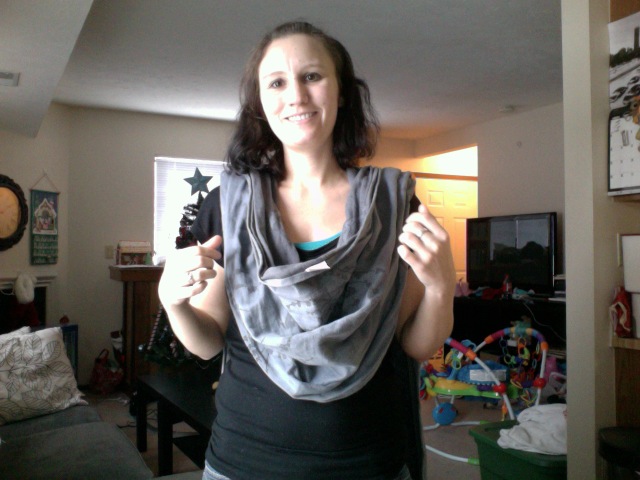
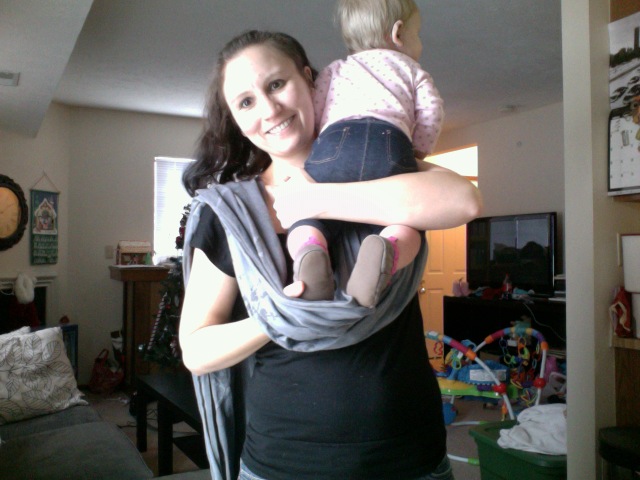
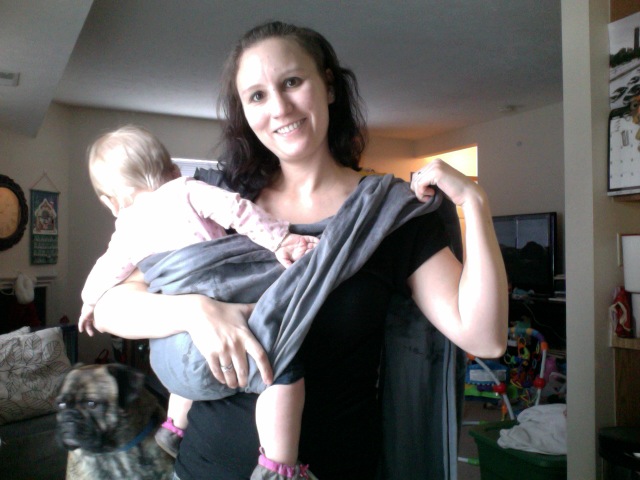
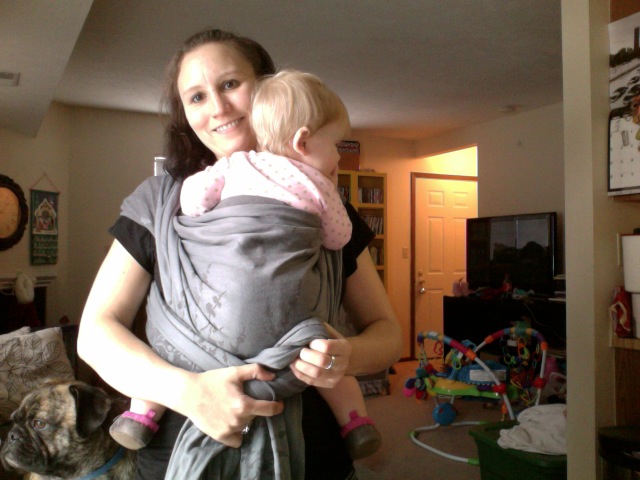
Kangaroo Carry begins with the middle marker of your wrap in the center of your chest. You then take the right side of your wrap and drape it over your right shoulder, and take the left side of your wrap and drape it over your left shoulder. You have now created a pouch in the center in which to place your baby.
Pick up baby and place him/her high on your shoulder and put his/her feet in the pouch and through the bottom. Bring the bottom rail up between your stomachs to create a "seat" for baby. Pull the top rail up to baby's neck.
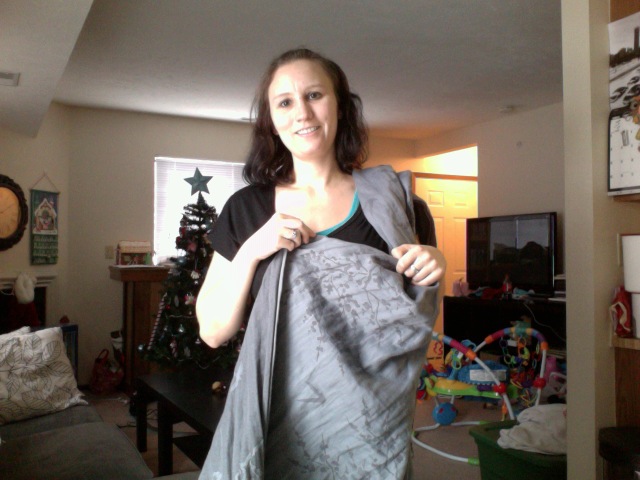
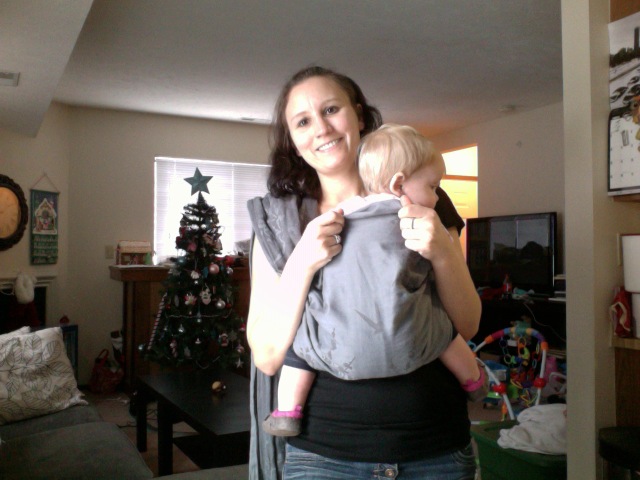
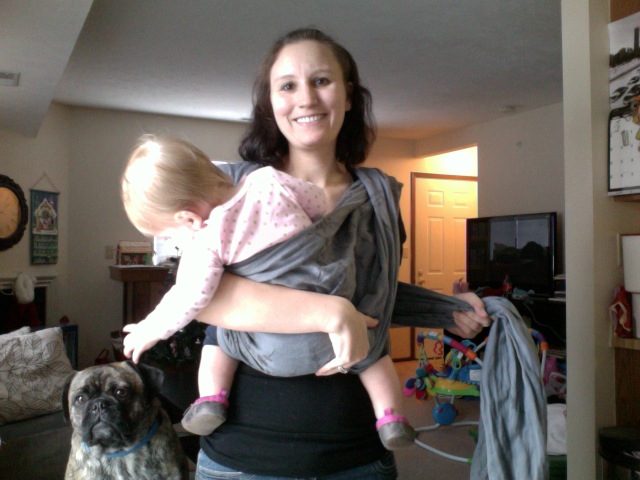
Now, put your hand under the wrap on your left shoulder and grab the rail closest to your neck. Pull that rail out to your shoulder, bringing the outside rail in towards your neck at the same time. This creates a twist in the wrap. Repeat this step with the wrap tail over your right shoulder.
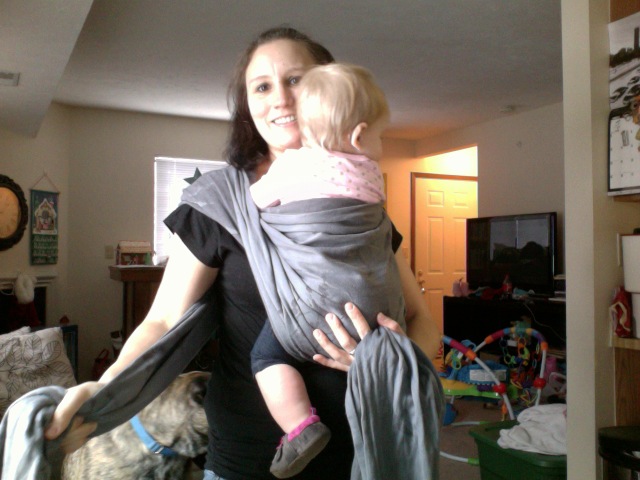
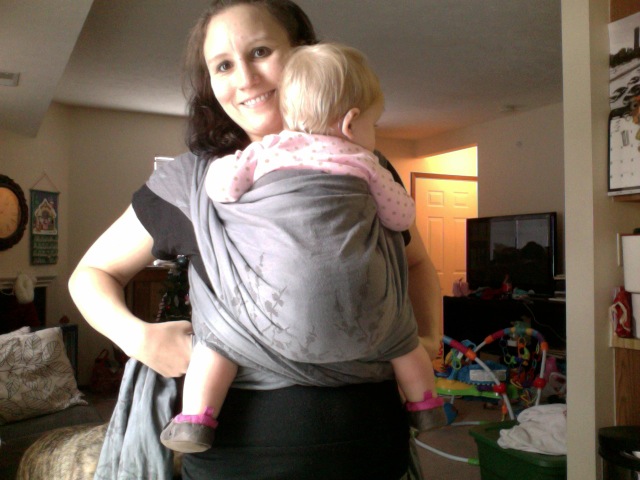
Now grab the right tail behind your back with your left hand and bring it around to the front over baby's leg and under baby's bottom. Grab the left tail behind your back with your right hand and bring it around to the front over baby's leg and under baby's bottom.
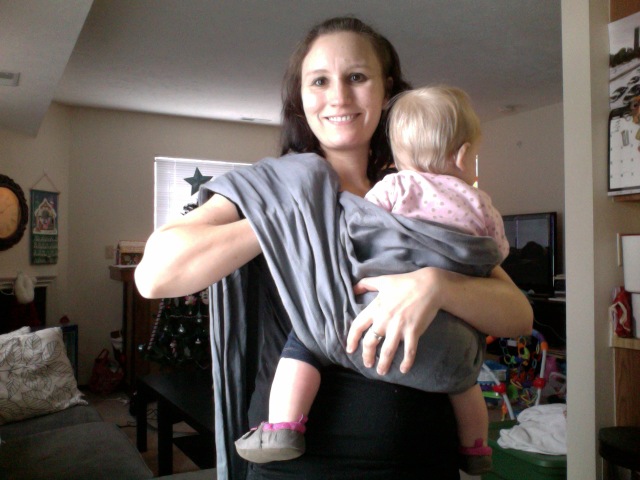
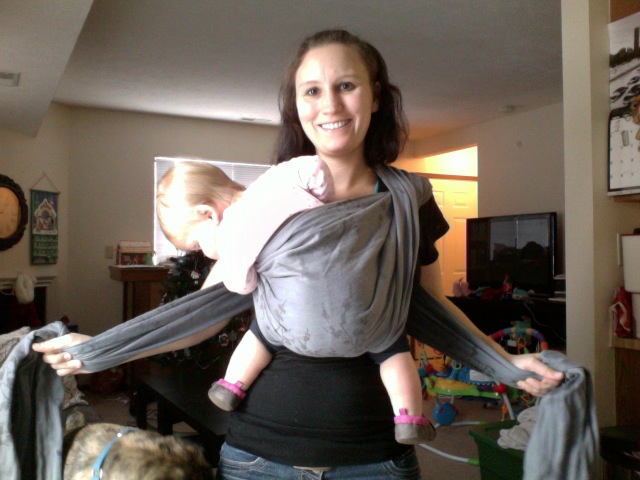
Tighten strand by strand, remembering that the wrap has a twist in it at the shoulders so the bottom rail will tighten the top and the top rail will tighten the bottom.
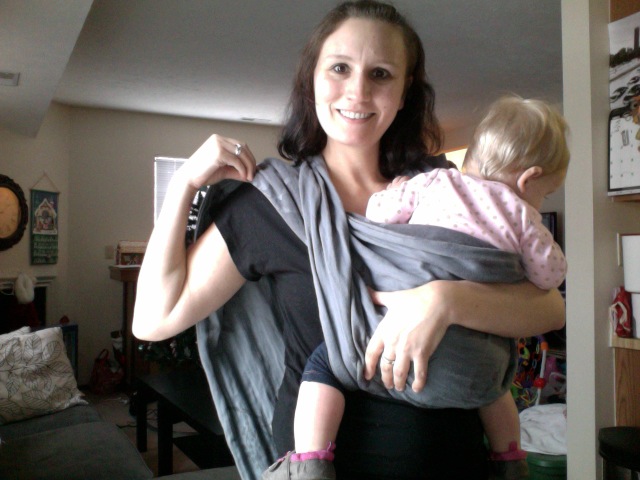
Once baby is snug and secure, you are ready to tie off. If you are using a short wrap you will tie a knot right under baby's bottom. If you are using a longer wrap you will cross your tails under baby's bottom and under the legs, bringing the tails to your back to tie off.
Pick up baby and place him/her high on your shoulder and put his/her feet in the pouch and through the bottom. Bring the bottom rail up between your stomachs to create a "seat" for baby. Pull the top rail up to baby's neck.
Now, put your hand under the wrap on your left shoulder and grab the rail closest to your neck. Pull that rail out to your shoulder, bringing the outside rail in towards your neck at the same time. This creates a twist in the wrap. Repeat this step with the wrap tail over your right shoulder.
Now grab the right tail behind your back with your left hand and bring it around to the front over baby's leg and under baby's bottom. Grab the left tail behind your back with your right hand and bring it around to the front over baby's leg and under baby's bottom.
Tighten strand by strand, remembering that the wrap has a twist in it at the shoulders so the bottom rail will tighten the top and the top rail will tighten the bottom.
Once baby is snug and secure, you are ready to tie off. If you are using a short wrap you will tie a knot right under baby's bottom. If you are using a longer wrap you will cross your tails under baby's bottom and under the legs, bringing the tails to your back to tie off.
Wee Carry Photo Tutorial


Pinterest Board - Carry of the Week #2: Kangaroo Carry
http://pinterest.com/weecarry/carry-of-the-week-2-kangaroo-carry/
Kangaroo Carry Variations
Coming Soon!
 RSS Feed